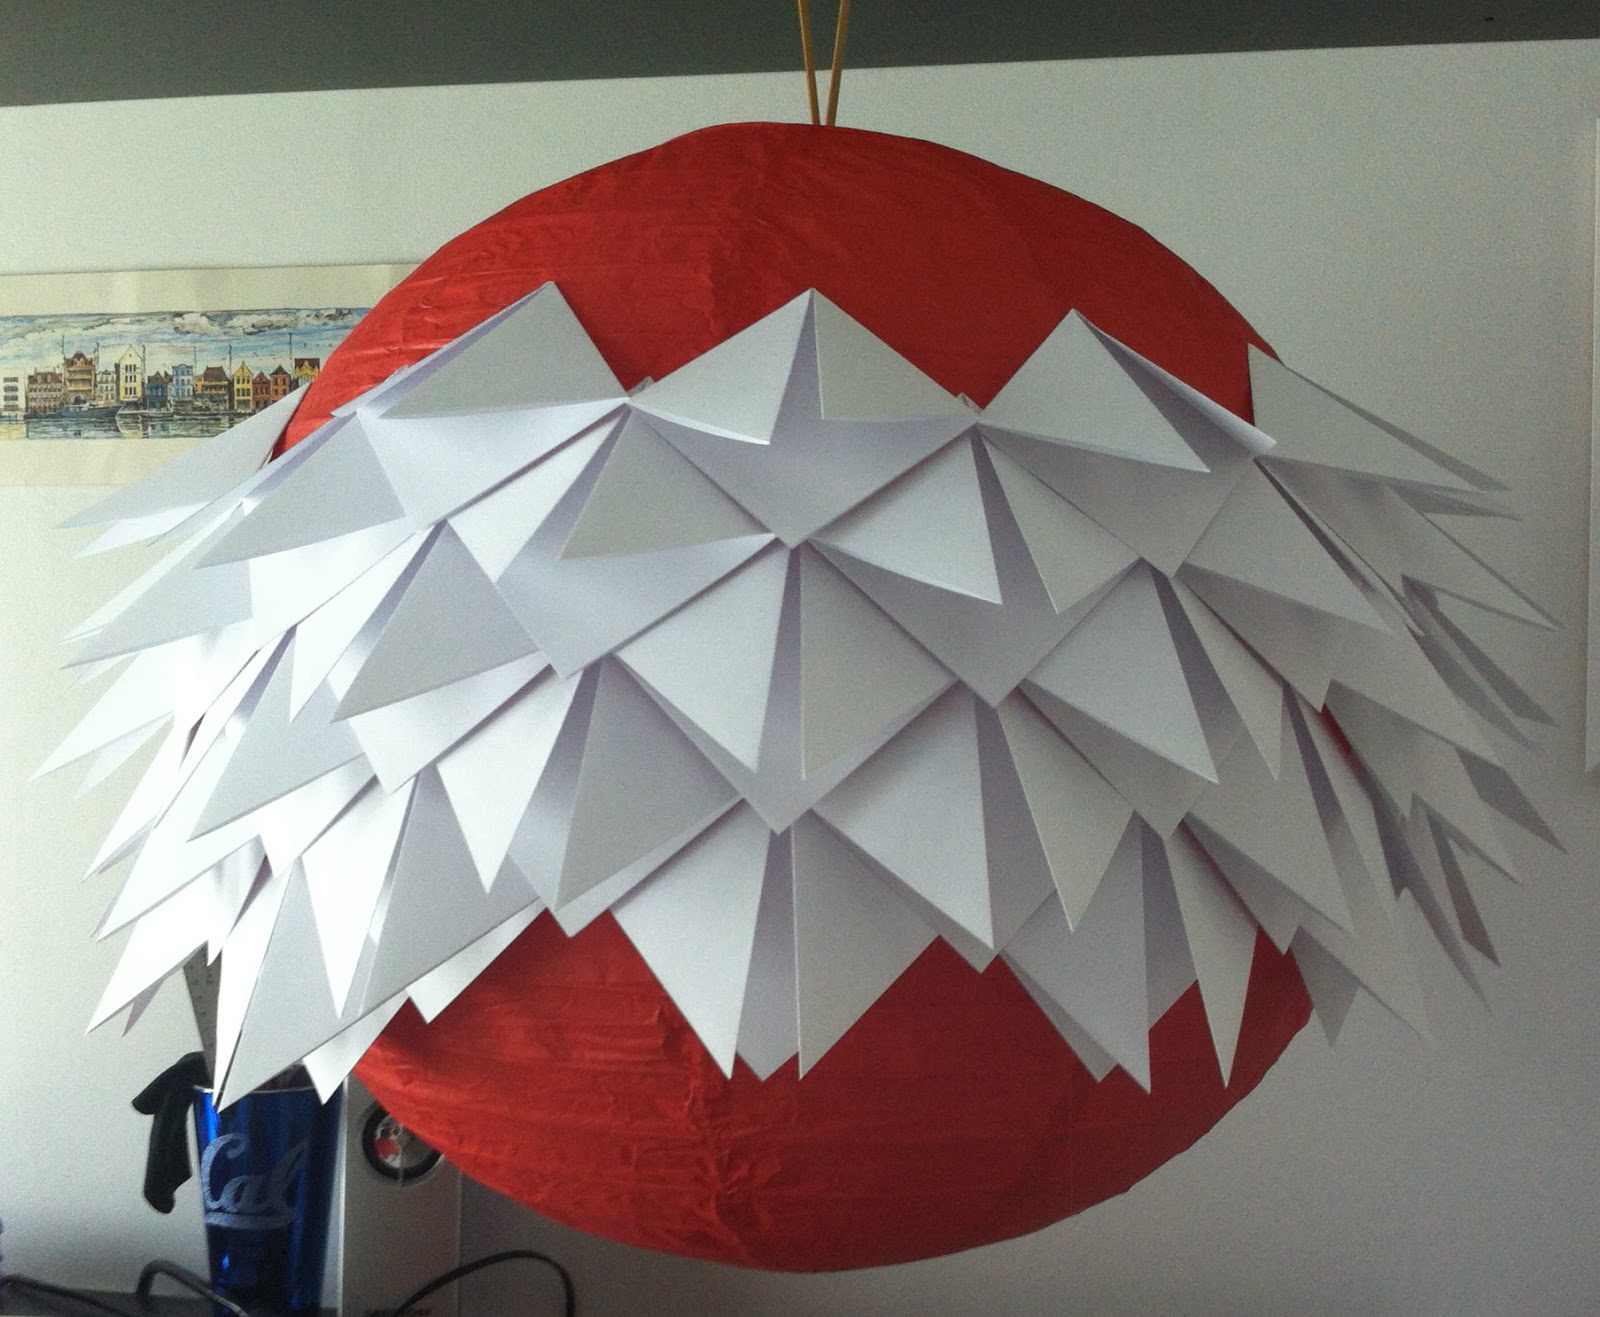
I wasn't actually looking for a new lamp, but when I came across a post on the 3 R's blog showing a standard Chinese Lantern completely covered with the folded fortune tellers I used to make when I was a kid I just had to have it in my house as well!
If you want great suggestions on how to create your own copy of a 40 cm (16 inch) lamp shade with 200 fortune tellers, head over to the 3 R's blog. Here is just my own little story of how I took a bigger sphere with smaller squares (I think) than in the original post and folded over 500 little fortune tellers
I could only find a 50 cm (20 inch) paper lantern in the stores, which was a bit bigger than I had in mind (IKEA was sold out of their 40 cm white Morup), but, hey, how many more fortune tellers would an increase of 10 cm in diameter really be...
Since I did not want to cut all my printer paper into perfect squares (mostly because it would take too much time and I did not trust my paper cutter) I actually ordered a block of those white square memo pages online from an office supplier for about €5. Two days later I had 900 perfectly squares of 9 x 9 cm
I actually did not own a glue gun at the start of this project. I could always get away with the clear glue-for-everything from a bottle, but when I tried to glue a few fortune tellers on the side of the lamp they just kept falling off, so frustrating!
Next day, I used my lunch time to bike to an art shop near my work and bought a glue gun. If I had know how cheap (and amazing) they are, I would have gotten one ages ago
Then I got into a certain rhythm. Get home from work, dinner, glue on the 30-50 fortune tellers I made the night before onto the lamp, put the table in front of the tv and watch a movie while folding 30-50 new fortune tellers, go to bed
I did time myself sometimes. My fastest was 10 fortune tellers in 20 minutes, but then I wasn't watching a movie. During a movie my folding rate dropped to 10 in 40 minutes (still have to keep track of the story of course). So 500 of them would have taken me at least 20 x 50 = 1000 minutes (about 17 hours), but since I did a lot of them while watching tv, it probably took me more in the range of 20-25 hours of folding
For the glueing part, I could glue about 60 of them onto the lamp in one hour. So 500 would have probably taken me 9-10 hours. I am glad that I did not know that it would take me that long before I started, haha
I started glueing on the "equator" and wanted to make a band, but after one full circle the band had become more of a spiral, not lining up at all. However, in the end, this was rather fortunate, since that way I never had any space left that could not fit an entire fortune teller. I just had to spiral my way all the way up and down
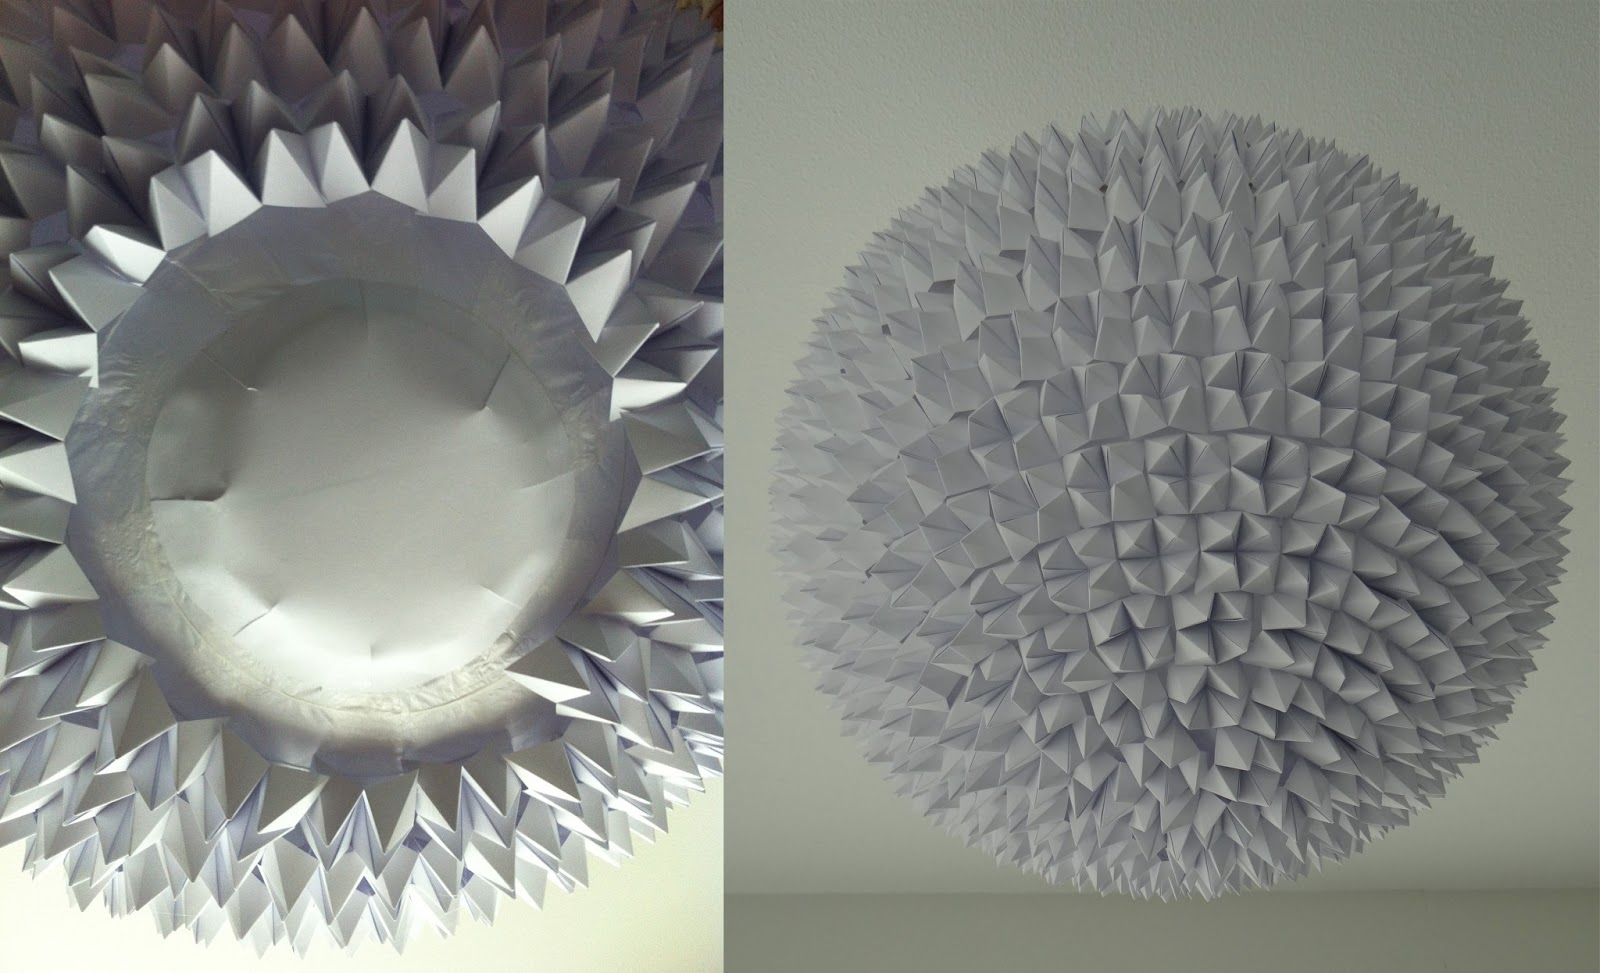
This would mean that at the top and bottom the row would stop rather unsymmetrically. And yes, you can see from the picture below (that shows the top) that it doesn't look very nice. However, since this is the part that you can't actually see once it hangs from the ceiling, I did not mind
The bottom has a similar hole, but to solve the spiral-stopping-suddenly problem and to make the sphere almost complete, I actually cut a paper into a circle and glued this over the hole at the bottom. This way I could easily keep on adding fortune tellers until the entire bottom half was completely covered
I was so happy when every available spot on the original Chinese lantern was covered in small fortune tellers. Even happier when I finally tested it with a light inside to see the play of light through the different number of layers of paper of the fortune tellers that the light had to go through
I had intended the new lamp for the kitchen, but it was just too big and I would almost bump my head against it (with 187 cm (6 feet 3 inches right?) the ceiling is usually rather close ;) ), so I moved our lamp in the bedroom to a vacant spot in the hallway and now this enormous ball of spikes has a lovely spot above our bed
It took much longer than expected and I think it will be at least 20 more years before I fold another fortune teller, but I am so happy with the result that I have no regrets!
Playing a bit with the camera settings to make the play of light even more visible:
(This wasn't the first lampshade I made using origami, see this newer post for an older light based on the Magic Ball)